What Is Mise En Place And Why Is It Important?
This post may contain affiliate links. As Amazon Associates and through other affiliate programs, we earn from qualifying purchases if you click on a link – at no extra cost to you. We only promote products we actually use and truly love!
Learn what the term mise en place means, why it is important, and how you can practice this in your own kitchen to make cooking more fun.
If you love to watch cooking shows, you might have heard the term mise en place thrown around. This is a French culinary practice that chefs around the world rely on to make their kitchens operate smoothly and efficiently. But the practice of mise en place isn’t just useful in professional kitchens; it’s something you can apply in your own home that will make cooking much easier, more fun, and less stressful. If that sounds appealing to you, then keep reading to learn about what mise en place is and why it is important.
What Does “Mise En Place” Mean?
The French culinary phrase mise en place literally translates to “put in place.” But the meaning of mise en place in cooking is to have everything set up and ready to go before you start cooking, so that you can operate efficiently in the kitchen.
So what exactly does this mean? To us, mise en place has 3 major steps that home cooks can follow to make preparing a recipe easier:
- Prepare your kitchen. Cooking is going to be hard if your counters are cluttered with drying dishes, or if the pot you need is still soaking in the sink. Always start with a clean kitchen.
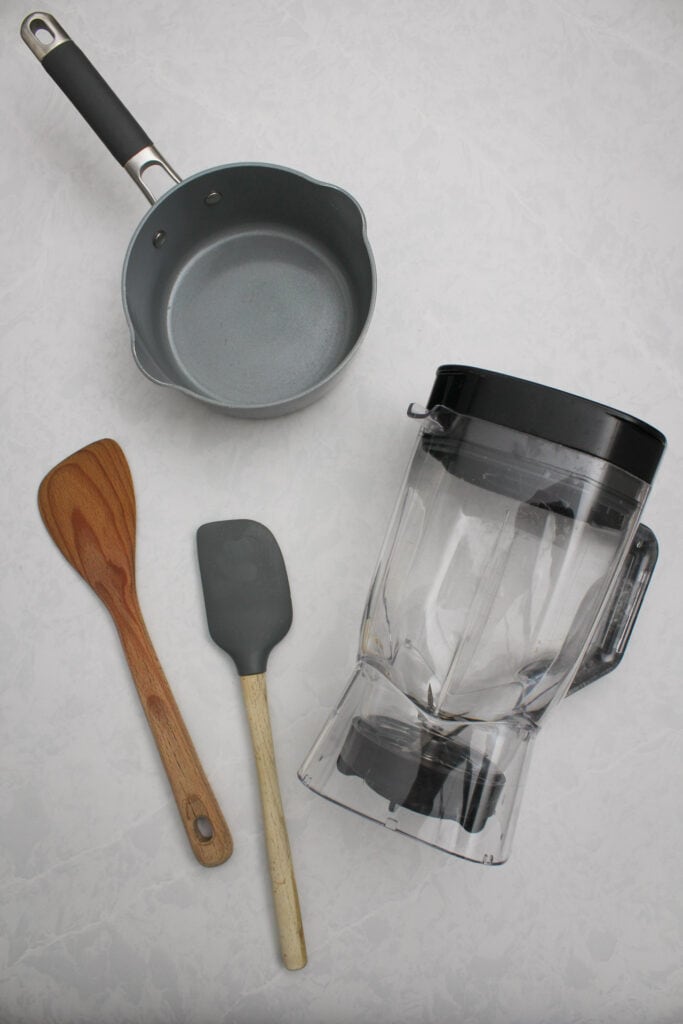
- Prepare your equipment. You don’t want to be digging around in your mess of a utensil drawer once the food is already in the pan. By the time you eventually find what you’re looking for, something might have already burnt and stuck to the pan.
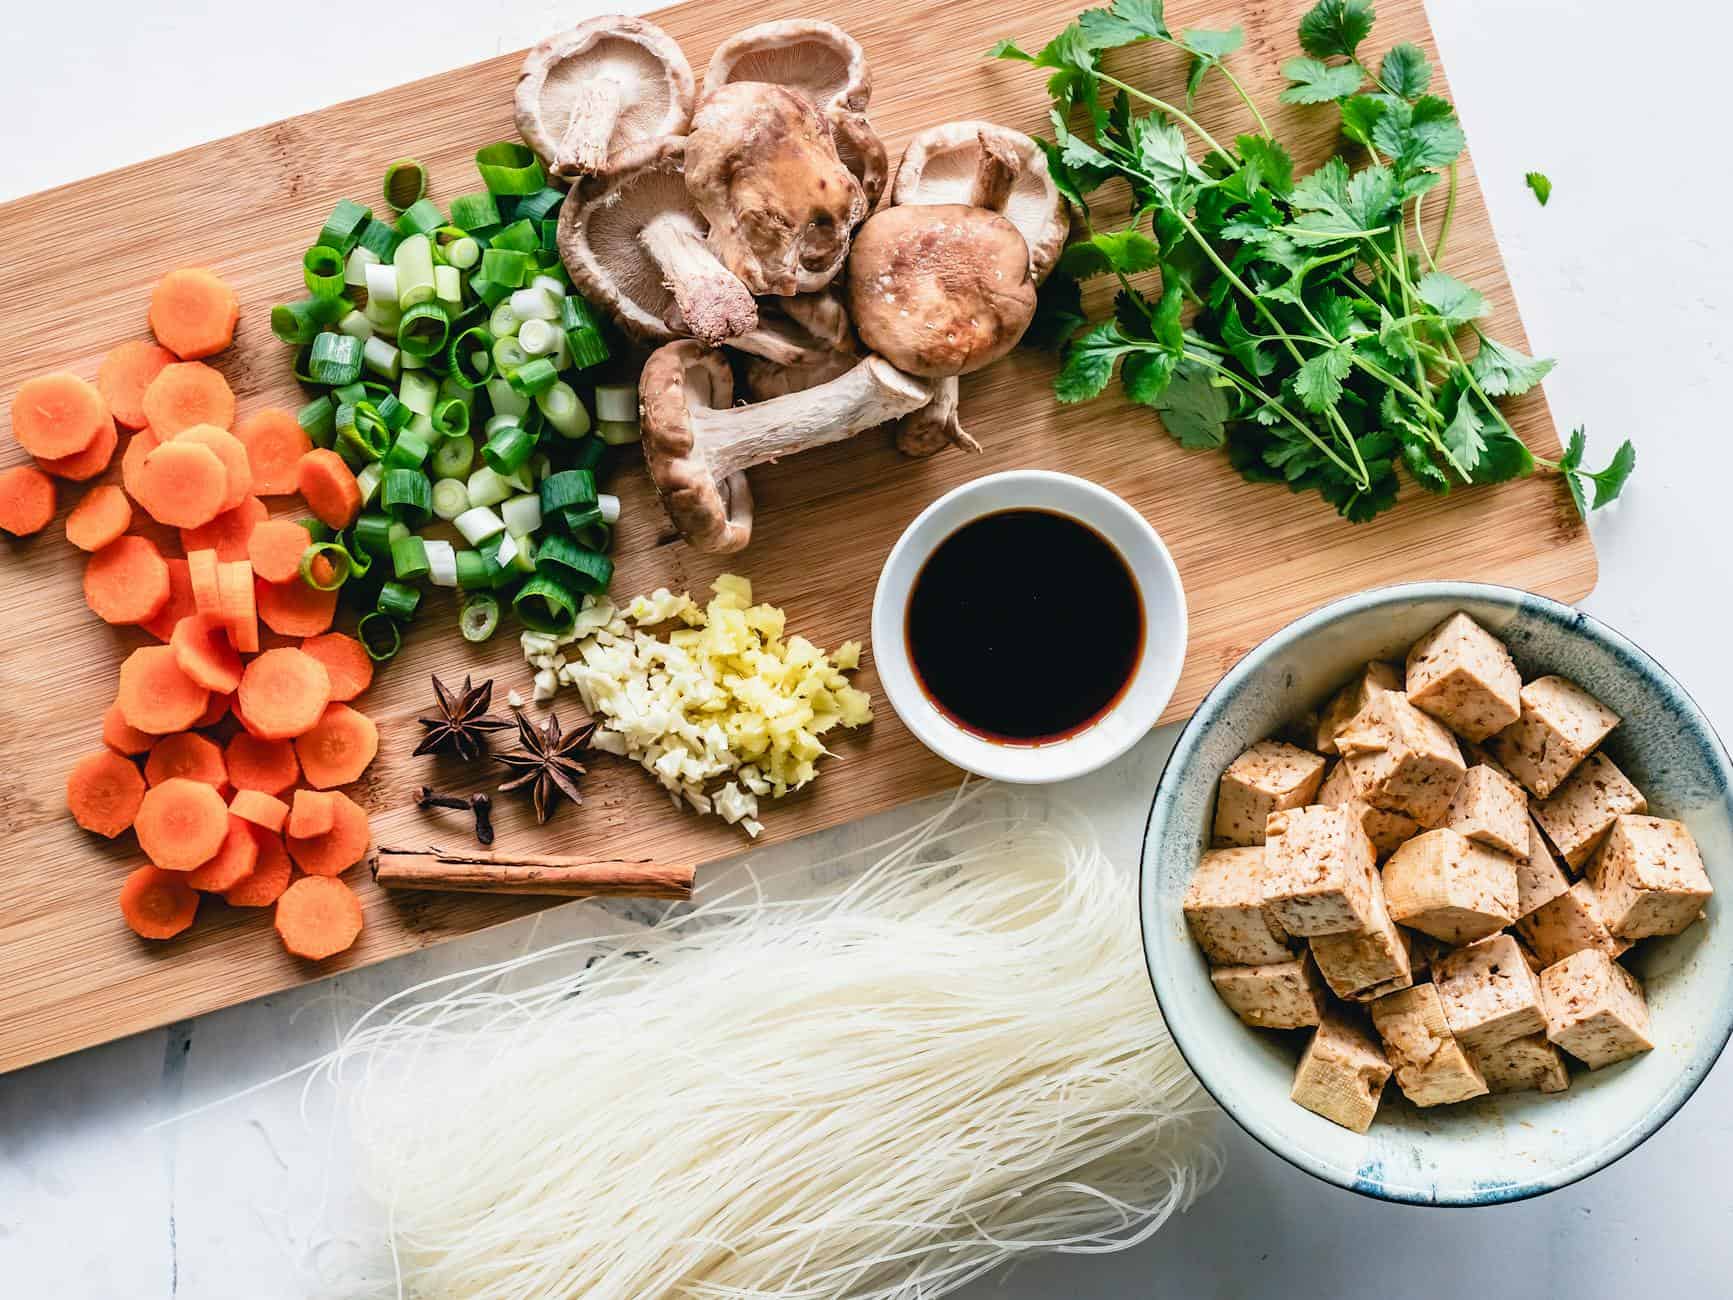
- Prepare your ingredients. Likewise, everything you need to make the recipe should be prepped and ready to use, so that you’re not frantically trying to dice an onion while the garlic is burning on the stove.
We’ll dive further into each of these steps in the sections below; but first, let’s talk about why mise en place is so important.

Why Is Mise En Place Important?
If you haven’t already figured it out by our examples above, not being prepared before diving into a recipe is, well, a recipe for disaster. Cooking can move faster than you expect, so you need to be prepared to react if you want successful results.
Let’s say you’ve heated up oil in a frying pan and go to add minced garlic. But the oil is too hot – so the garlic immediately starts burning and sticking to the pan. If you don’t already have a utensil in your hand, your chances of rescuing the garlic are significantly less. Sure, you can lower the heat or take the pan off the stove entirely; but if you don’t have a way of releasing the stuck bits from the pan, it’s just going to get worse the longer it sits. On the flip side, if you can immediately start to stir the garlic around once you hear the sizzle of it burning in the pan, then you can buy yourself a few extra seconds to adjust the heat or quickly add your deglazing liquid.
Which brings us to another important realization: if you need to quickly add a deglazing liquid to prevent something from burning, you need to be able to easily reach the ingredient, properly measured out for the recipe. This is why it’s helpful – and necessary, more often than not – to have your ingredients prepared before beginning to cook.
The number one reason why mise en place is so important is that it means you have everything you need to cook within arm’s reach. This allows you to focus solely on what’s cooking in front of you and react as necessary using intuitive cues. Which will, in turn, make it much easier to execute a recipe successfully!
How To Put Mise En Place Into Practice In Your Own Kitchen
Now that we’ve covered what mise en place is and why it’s so important, let’s dive deeper into the 3 steps you can take to practice this skill in your own kitchen.
1. Prepare Your Kitchen
Starting with a clean kitchen is the number one thing you can do to set yourself up for success, for two reasons.
First, if your counter space is limited (like ours), you don’t want to be working around piles of dirty dishes, or clean ones that have been left out to dry. Clear off as much counter space as you can, make sure the sink is empty so that you have room to wash produce or drain boiling pots of water, and make space on the stove so you can access the burners.
Second, if you have a limited supply of cookware and utensils, you can’t have your only spatula be dirty (or trapped in the dishwasher) when you start cooking eggs. Once the food hits the pan, you probably won’t have time to hunt it down and give it a good scrub before you need it. Starting with a clean kitchen also means making sure all the pots, pans, and utensils you need are clean, too.
Tip: If you don’t already do this, try making a habit out of cleaning the kitchen up before you start making dinner. Build in an extra 10 to 15 minutes to take care of this, so that you don’t feel rushed and frustrated once the cooking begins.

2. Prepare Your Equipment
Next, you’ll need to prepare your equipment before you start doing anything. Read the recipe to figure out what you’ll need – measuring spoons, cutting boards, knives, pots and pans, spatulas, boiling water, etc. – and then read it again, in case you missed something the first time.
Now, getting your equipment ready is two-fold: it means gathering all of the cookware and utensils you’re going to need, but it also means preheating the oven or getting a pot of water boiling. You don’t want to have to wait another 20 minutes after your mise en place for water to boil. This simple step removes the frustration and annoyance associated with timing, which makes cooking a much more enjoyable experience.
Make sure to be thorough in preparing your equipment. It’s easy to dismiss something like the wooden spoon you always keep in the utensil jar next to the stove. But how many times have you thought it was there, only to realize someone else used it earlier and now it’s in the dishwasher? Or frantically struggled to grab it free from the tangled web of utensils jammed into the jar? Again, removing small annoyances like these contributes to a more enjoyable cooking experience, which will reflect in the quality and flavor of the final dish.
Tip: Investing in high quality equipment can make a big difference in the ease with which you prepare a recipe – and you don’t have to spend big bucks! This can be as small as buying a cutting board with rubber feet so it doesn’t slip, or picking up a knife sharpener if you don’t have the money to invest in a new knife set but feel like your blades are always dull.

3. Prepare Your Ingredients
Once your kitchen is clean and your equipment is ready, you can start to prepare your ingredients.
Grab your recipe again, read it over a few times, and take note of all the ingredients you need. This means all of the ingredients – even the vegetable oil that goes in the frying pan and the fresh cilantro you’ll use to garnish the final dish. Then, find all of these ingredients and put them out on the counter.
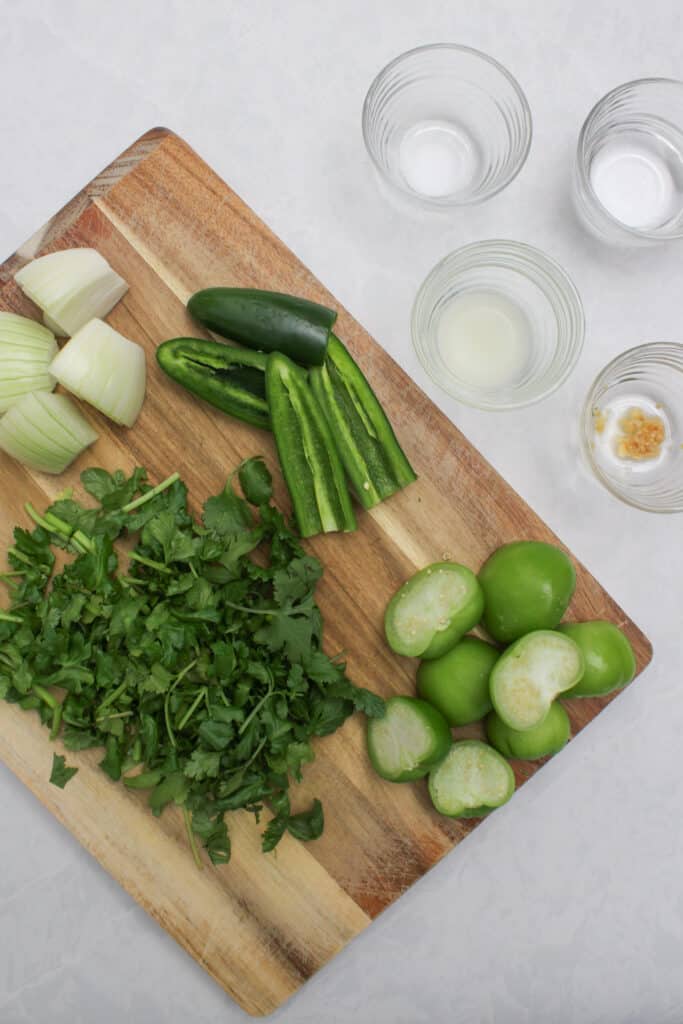
Now, depending on how you’ll use them, there are a few different ways you can approach preparing your ingredients. For the most part, you should wash and chop up produce according to the recipe, measure out spices and liquids, open cans, shred cheese, and prepare meats for cooking.
However, there are a few exceptions that we make ourselves, that you may find useful, too:
- If a recipe calls for fresh herbs to garnish the final dish, wait until just before serving to chop the herbs. Some herbs, like basil, oxidize the longer they are exposed to the air after chopping and won’t taste as fresh.
- Similarly, if a pasta dish calls for freshly grated parmesan as a garnish before serving, you don’t have to grate the parmesan into a bowl when you’re preparing your ingredients (although you can, if you want to!). Just make sure to unwrap the parmesan and have it, and your grater, within arm’s reach so that you can grate it directly over the dish before serving.
- If you’re going to quickly marinate chicken for 20 to 30 minutes before cooking, get this started first; then continue to prepare the remaining ingredients while the chicken marinates to save yourself some time.
- If a recipe calls for you to squeeze the juice from half a lime into a skillet of rice and veggies, you can simply cut the lime in half as part of your mise en place, then squeeze the lime directly over the skillet when the time comes. You don’t have to juice the lime into a bowl ahead of time if you don’t want to.
- For ingredients you use frequently and don’t have to be as precise with measuring out (like oil and salt), keep them in functional containers and place them within arm’s reach when cooking. We use this bottle for pouring oil and an olive wood salt cellar for our fine sea salt.
As you can see, there are no hard and fast rules about how exactly to prepare your ingredients. Do it in a way that makes sense for you – but just make sure that your veggies are diced, your spices and liquids are measured, and your oil and salt are within reach before you start cooking.
Tip: These small glass prep bowls are so useful for mise en place – we have two sets and use them all the time! You can use them for small amounts of chopped veggies, measuring out and mixing together spice blends, or cracking eggs. They’re also great for catching lemon juice, so that you can prevent seeds from accidentally finding their way into your food.
Recipes To Help You Get Comfortable With Mise En Place
Now that you know how to start practicing mise en place in your own kitchen, here are a few easy recipes you can try to get comfortable with this skill:
To browse our latest recipes and seasonal dishes, visit our homepage here.
If you have any questions regarding the information presented in this post, please refer to our Nutrition Disclaimer here.
Looking for kitchen inspiration? Head over to our shop to see what we cook with every day, plus recommendations for foodie gifts and eco-friendly products.
