Shredded Chicken Parm Sliders
This post may contain affiliate links. We only promote products we actually use and truly love!
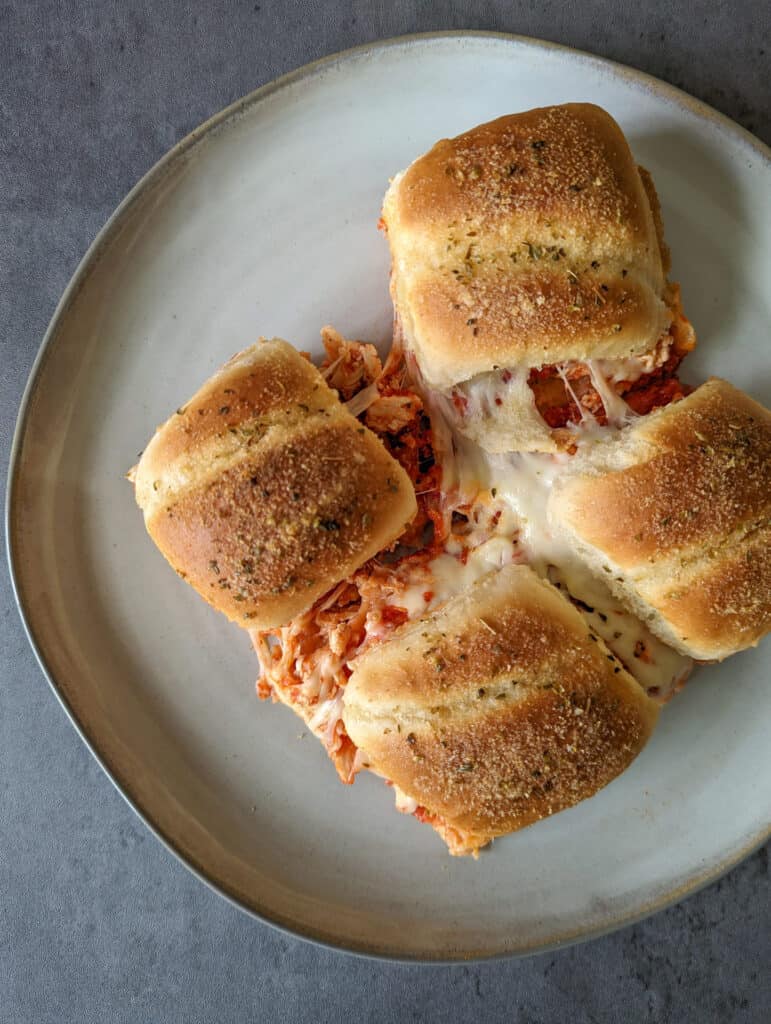
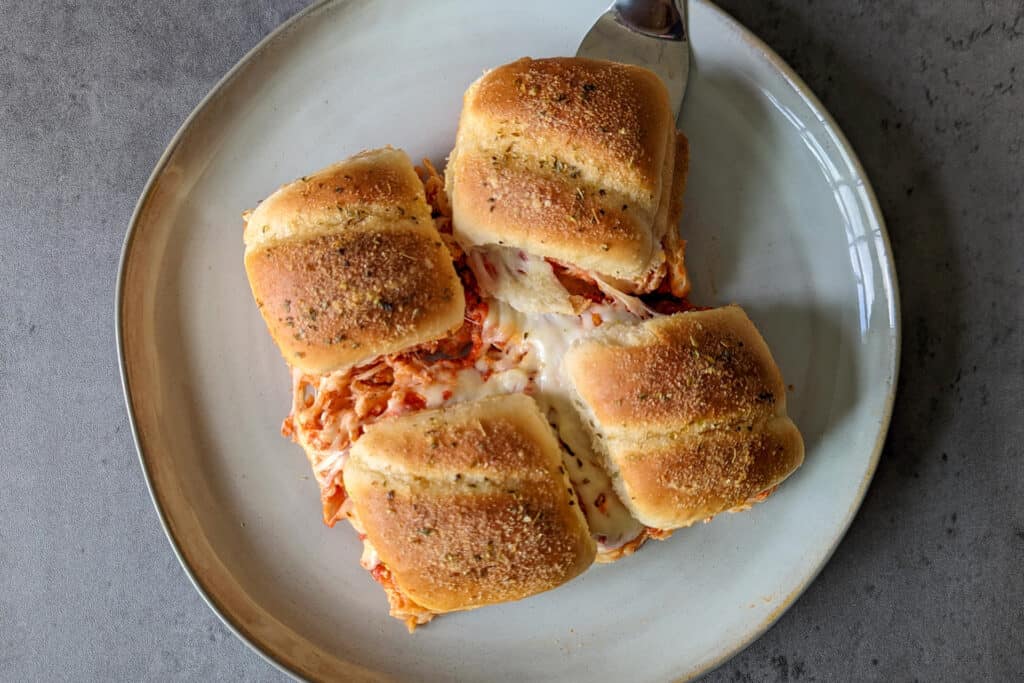
A tasty tray of these easy cheesy shredded chicken parm sliders makes the perfect mini appetizer for game days and potlucks!
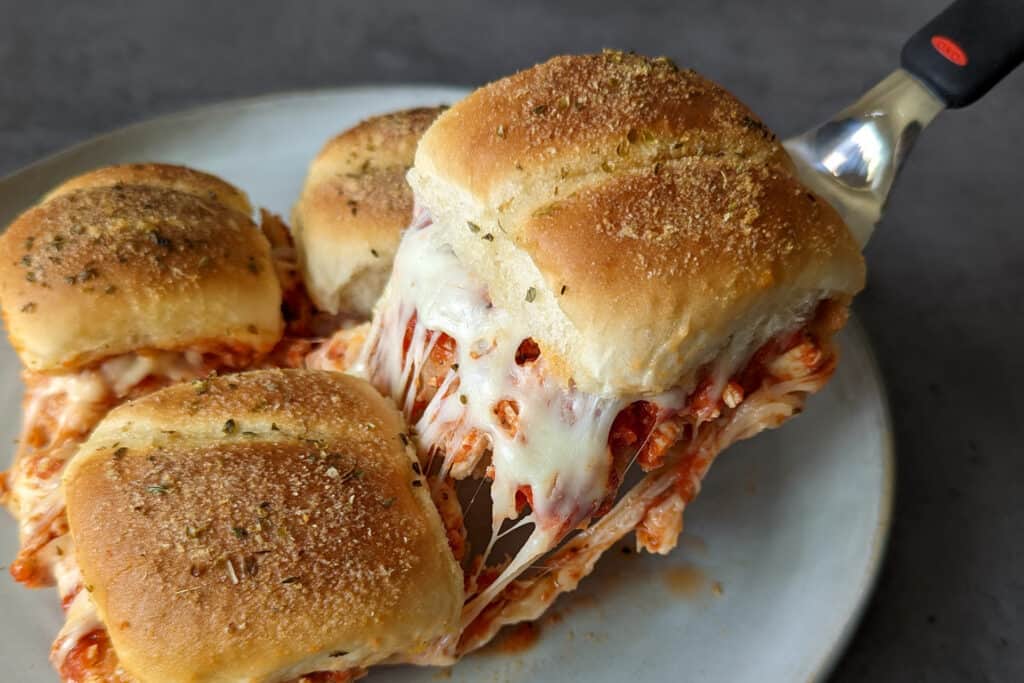
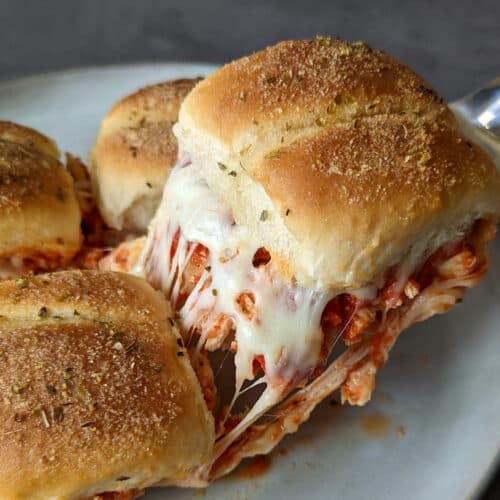
If there’s two things we love, it’s cheesy sandwiches and game day appetizers. That’s why these pull apart shredded chicken parm sliders are one of our favorite easy treats for football Sundays and the occasional weeknight dinner! Fresh out of the oven, these mini chicken parmesan sandwiches are hot, saucy, and super gooey – which makes them a little messy, but oh-so comforting.
The best part is, our chicken parm sliders recipe requires very little effort, relying on a few store bought ingredients and a little prep time for the chicken. Inspired by these amazing pesto chicken sliders from Bake.Eat.Repeat, our chicken parm sliders are super simple yet incredibly tasty.
Shredded Chicken Parm Slider Recipe Ingredients
You’ll need 4 main ingredients to make these tasty pull apart chicken parmesan sliders:
- Dinner rolls. We love super-soft Artesano Bakery Rolls for this recipe, but you can also easily make chicken parm sliders with King’s Hawaiian Rolls. Most kinds of slider-sized rolls toast nicely while staying soft on the inside, and can be left attached for easy slider assembly.
- Shredded chicken. If you want to make this recipe as quick and easy as possible the day of, we recommend preparing the chicken ahead of time. We like to season chicken breast with a sprinkle of garlic powder, onion powder, salt, and pepper and bake it in the oven, then shred it while it’s still warm and store it in the fridge for later. For an easy shortcut, you can buy a rotisserie chicken from the store and simply shred it!
- Marinara sauce. Use your favorite jarred marinara or a homemade sauce, if you have some handy. Sometimes we like to use our homemade pizza sauce for this recipe if there’s some extra laying around.
- Mozzarella cheese. Grab a bag of shredded mozzarella from the grocery store and don’t be afraid to pile it on these sliders! The cheesier, the better 🙂

How To Make Shredded Chicken Parm Sliders
It’s super easy to make delicious chicken parm sliders with this recipe – just follow these 5 simple steps:
- Slice the dinner rolls in half horizontally and place the bottoms in a greased baking dish.
- In a bowl, toss shredded chicken in some of the marinara sauce to get a nice, even coating. Then spoon the chicken onto the slider buns in an even layer.
- Top the chicken with the rest of the marinara sauce, spooning equal amounts onto each slider. Then sprinkle shredded mozzarella cheese evenly over the sliders.
- Place the top halves of the dinner rolls on the sliders. Brush the tops with melted butter, then sprinkle with garlic powder, onion powder, and oregano for a savory, garlicky finish!
- Cover the pan with foil and bake at 350 degrees F for 20 minutes, then uncover and bake for another 5 minutes to lightly toast the buns. Serve hot and enjoy!
Spooning extra marinara sauce on top of the sliders and covering them with generous amounts of cheese really captures the sauciness that makes chicken parm so tasty. Like we said, this does make these sliders pretty messy, but they’re totally worth it! Eat them with a fork and knife if you have to – we promise you won’t be disappointed, no matter how you attack these saucy pull apart sliders.
Storing & Reheating Shredded Chicken Parmesan Sliders
In case all of these little sliders somehow don’t disappear in one sitting, you can store the leftovers and easily reheat them later. They’ll keep for up to 3 days in an air-tight container in the refrigerator. When you’re read to reheat them, preheat the oven to 350 degrees F and stick them back in a baking dish. Cover with foil, and bake for about 25 to 30 minutes or until they’re fully warmed through. These sliders make great leftover lunches when you want something a little extra comforting without all the effort!
The first time we made this recipe, we took one bite and said, how soon can we make these again? And then we made them literally as soon as we ran out of leftovers from the first batch. That’s how delicious these little chicken parm sliders are.
Try the recipe below and see for yourself how tasty these shredded chicken parm sliders truly are! We hope you love this recipe as much as we do. Let us know what you think in the comments and don’t forget to share it with your friends!
Love this recipe? You may enjoy these other recipes, too:
- Chicken Parmesan Sandwiches
- Buffalo Chicken Sliders
- Vegetarian Black Bean Southwest Sliders
- Chicken Parm Pizza
Tell us what you think!
We hope you enjoy this recipe! When you try it out, please leave a review and a star rating in the comments below. Happy cooking! – Nicole and Alex
Shredded Chicken Parm Sliders
Save this recipe!
Ingredients
- 9 dinner rolls
- 1 pound shredded chicken
- 12 ounces jarred marinara sauce
- 1 cup shredded mozzarella cheese
- 1 tablespoon butter melted
- Garlic powder
- Onion powder
- Oregano
Instructions
- Preheat oven to 350 degrees and lightly grease a 9×9 baking dish.
- Slice dinner rolls open and place bottom halves in the baking dish.
- If using prepared shredded chicken from the refrigerator, warm it up in the microwave for about 1 minute, stirring halfway through.
- Add 1/2 cup of the marinara sauce to the chicken. Stir well to combine, fully coating the chicken in sauce.
- Spoon equal amounts of chicken onto each dinner roll.
- Spoon the remaining marinara sauce over each slider.
- Top each slider with an equal amount of shredded mozzarella cheese.
- Place the tops of the dinner rolls on the sliders. Brush with melted butter and sprinkle with garlic powder, onion powder, and oregano.
- Cover the pan with foil and bake for 20 minutes.
- Remove the foil and bake uncovered for another 5 minutes to lightly toast the sliders.
- Serve hot and enjoy!
Notes
Nutrition
If you have any questions regarding the information presented in this post, please refer to our Nutrition Disclaimer here.
We made chicken parm over the weekend and it was so delicious. I really like having the chicken shredded.
The only change I would make next time would be to warm up the chicken before baking, like you suggested, and put parchment paper on the bottom of the pan for easier cleanup.
We will definitely be making these again and again, they are just so good. Thanks for the great recipe.
Parchment paper is a great idea, these can definitely get messy! So happy you enjoyed these!